Best Practices for Paver Installation in Chandler
When you’re planning paver installation in Chandler, it’s vital to consider the unique desert climate and select materials that can endure extreme temperatures and sporadic rains. You’ll want to opt for durable options like concrete or natural stone, which not only hold up well but also blend seamlessly with the local architecture and landscape. Proper site preparation, including debris removal and ground leveling, sets the foundation for a stable and long-lasting surface. But what about the tools and techniques that ensure a professional finish? Let’s explore how you can achieve that perfect paved look.
Key Takeaways
- Choose pavers made from materials that can endure Chandler’s intense heat and sporadic rains.
- Select earth-tone colors and patterns that complement your home’s exterior for a cohesive look.
- Clear the installation site thoroughly and mark boundaries accurately for a professional finish.
- Use essential tools like a plate compactor, level, and quality paver materials for a durable installation.
- Regularly clean and seal pavers every 2-3 years to protect against Chandler’s sun damage and maintain visual appeal.
Choosing the Right Pavers
When choosing the right pavers, consider the material that best suits your needs and the local climate.
Think about the color and style that will complement your home’s exterior and landscaping.
Your selections will significantly impact both the functionality and aesthetics of your outdoor space.
Material Selection Tips
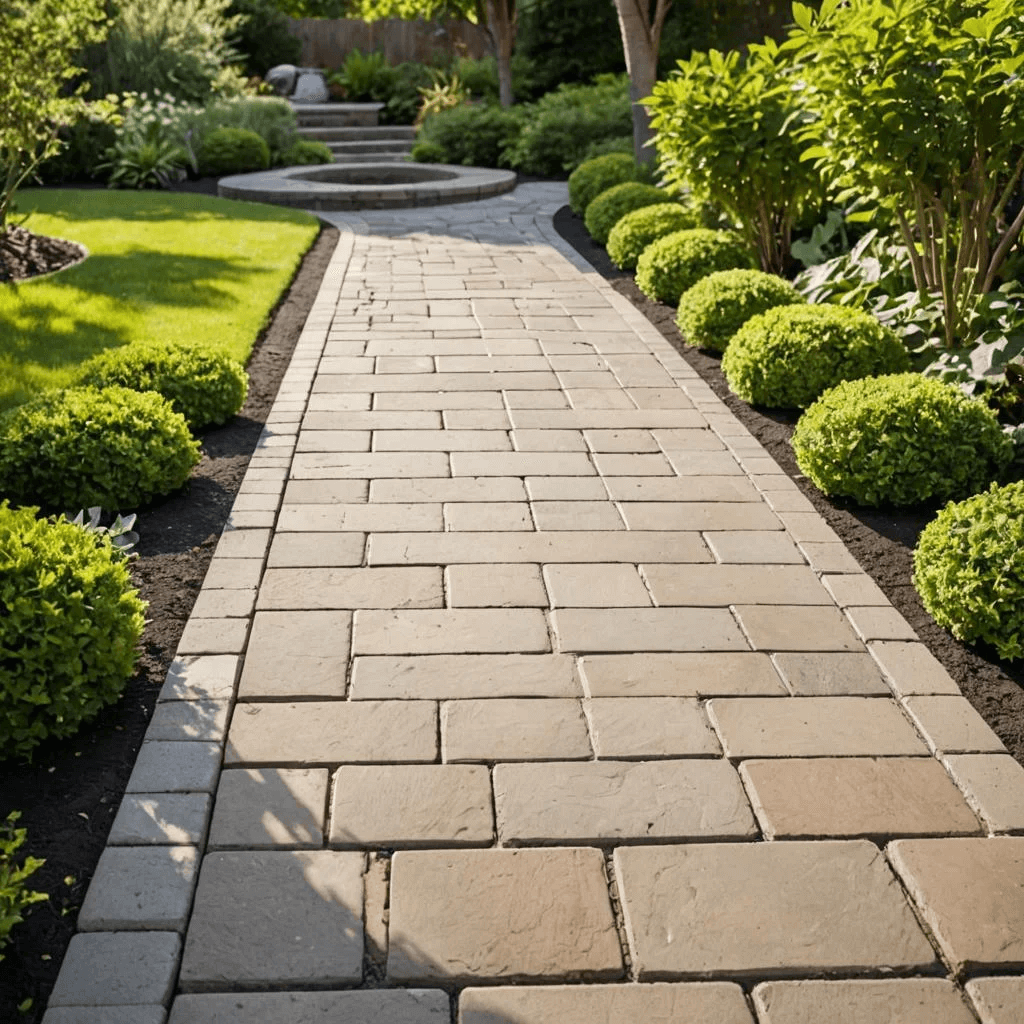
Selecting the right pavers for your Chandler project involves considering factors like durability, style, and budget. When choosing pavers Chandler residents trust, focus on materials that can withstand intense heat and occasional monsoon rains. Concrete pavers are a popular choice due to their strength and versatility. They’re cost-effective and come in various shapes, fitting seamlessly into any Chandler landscape design.
Brick pavers offer a timeless, classic look and are highly durable, although they might require more maintenance. Natural stone pavers, such as travertine or flagstone, provide an upscale, elegant appearance and are perfect for high-end projects. However, they tend to be pricier and may need professional paver installation Chandler experts recommend.
One of the most crucial paver installation tips is to consider the specific function of your outdoor space. For heavy traffic areas like driveways, opt for thicker, more robust pavers. For patios or walkways, thinner pavers will suffice.
Don’t forget to factor in your budget—quality materials might cost more upfront but save you money on repairs in the long run. By selecting the right Chandler outdoor pavers, you’ll ensure your project stands the test of time, reflecting power and sophistication.
Color and Style Choices
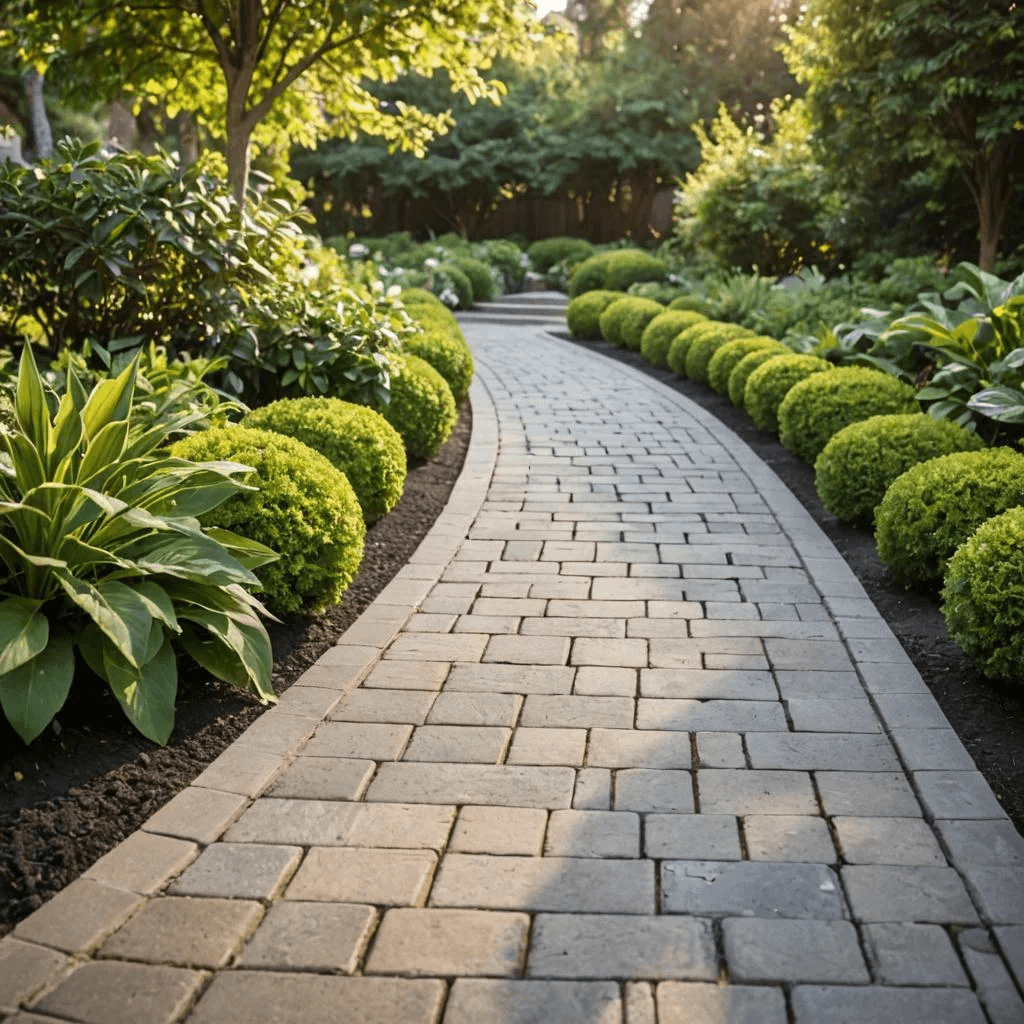
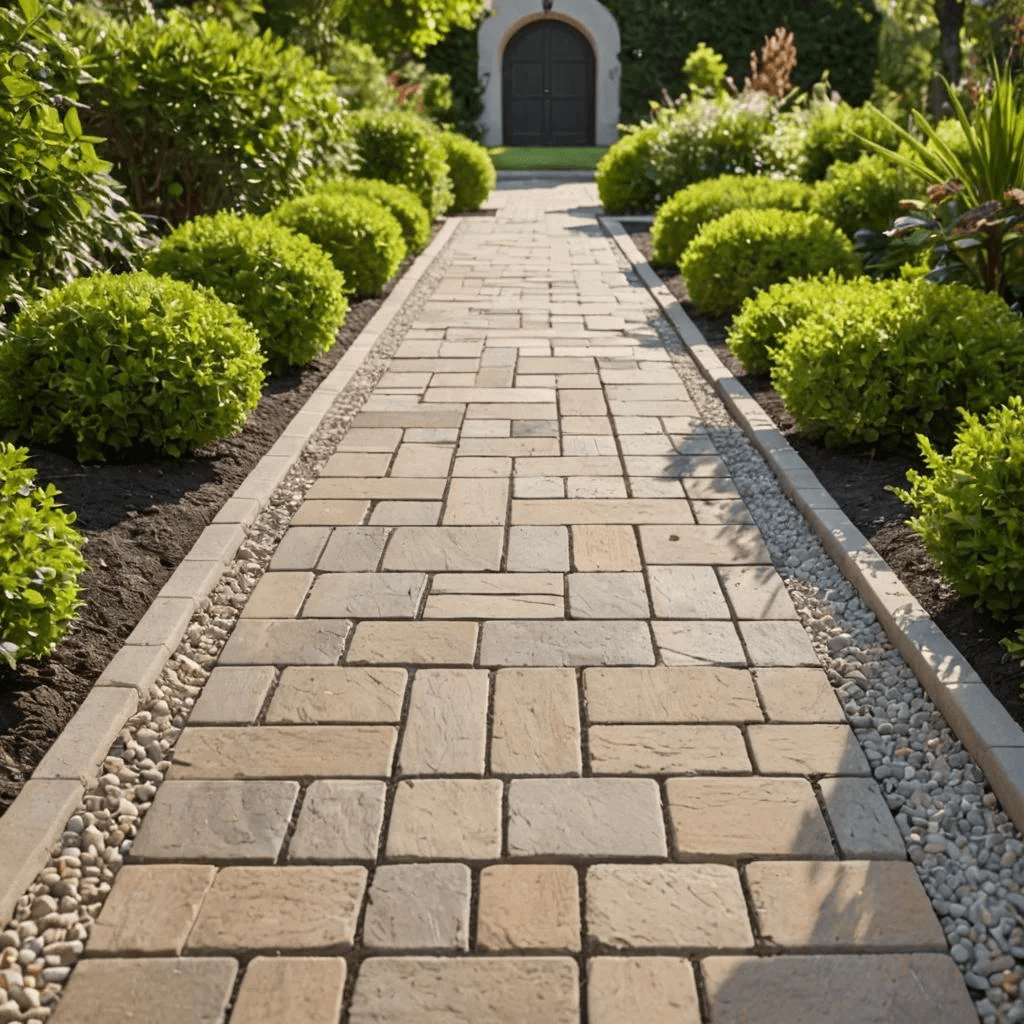
Choosing the right color and style for your pavers can elevate the aesthetic of your Chandler home and complement its existing architecture. When considering residential paver installation in Chandler, it’s crucial to choose colors and patterns that enhance your outdoor space. Opt for hues that harmonize with your home’s exterior and surrounding landscape. Earth tones are popular in Chandler hardscaping, providing a natural and timeless look.
Paver Patterns Chandler
| Pattern | Best Use | Visual Impact |
|---|---|---|
| Herringbone | Driveways, Walkways | Dynamic, Strong |
| Basket Weave | Patios, Courtyards | Classic, Textured |
| Running Bond | Large Spaces, Pathways | Clean, Elongating |
Incorporate these patterns to achieve the desired visual impact. Herringbone paver patterns in Chandler offer a dynamic and strong structure, ideal for driveways and walkways. Basket weave is perfect for patios, adding a classic, textured finish. Running bond suits large spaces, providing a clean, elongating effect.
For paver installation best practices, consult professional paver installation advice in Chandler to ensure durability and aesthetic appeal. Remember, the right choices in Chandler hardscaping can transform your outdoor living space into a powerful statement of style and sophistication.
Site Preparation Steps
Before you start laying pavers, you’ll need to prepare the site properly.
Begin by clearing the area of any debris and vegetation.
Then level the ground to ensure a stable base.
Clearing the Area
The first step in site preparation is clearing the area of any debris, vegetation, or obstacles. This is crucial for ensuring a solid foundation for your paver installation. You can’t afford to overlook this step if you’re aiming for a professional finish, especially in Chandler’s unique climate.
Start by removing all surface debris such as rocks, sticks, and old materials. Use a rake or a shovel to dig out any weeds or grass that could undermine your paver installation steps. For a DIY paver installation in Chandler, you need to be meticulous. Any vegetation left can lead to uneven surfaces and future maintenance headaches.
Next, focus on any large obstacles like tree roots or old stumps. Use an axe or a root saw to cut them out. These obstacles can cause shifts in your pavers over time, which is why clearing the area is one of the best practices for paver installation.
Employ paver installation techniques like marking the area with stakes and string before you begin, ensuring you don’t miss any hidden obstacles.
Leveling the Ground
Ensuring a level ground is essential for a successful paver installation, as it prevents future shifting and creates a smooth, even surface. This fundamental step lays the foundation for a robust, long-lasting project. Here’s a powerful guide to help you master this process.
- Excavate the Area: Start by digging out the designated area to the required depth, usually around 6-8 inches. This allows for the paver, bedding sand, and base material. Chandler paving experts recommend this depth to ensure stability.
- Compact the Soil: Use a plate compactor to firm up the soil, eliminating air pockets that could lead to settling. This step is crucial for maintaining pavers in Chandler’s unique climate.
- Add a Base Layer: Spread a layer of crushed stone or gravel, about 4-6 inches thick. Compact it thoroughly. This base layer is vital for drainage and long-term durability.
- Level the Surface: Lay a layer of coarse sand, about 1 inch thick, on top of the compacted base. Screed it to ensure an even surface. Follow this Chandler paver installation guide to achieve a pristine finish.
Employing these steps ensures your Chandler paver installation is rock-solid. If you need professional help, look into paver installation services Chandler offers for expert assistance.
Marking Boundaries
Once you’ve leveled the ground, it’s time to mark the boundaries for your paver installation. Don’t underestimate this step; clear, precise boundaries ensure your project stays on track and looks professional.
In commercial paver installation in Chandler, accuracy is paramount. Begin by using stakes and string lines to outline the exact area where the pavers will go. Hammer the stakes firmly into the ground at each corner and stretch the string tightly between them. This forms a guide that keeps your edges straight and your layout symmetrical.
Next, measure the diagonals of your outlined area to ensure they’re equal. This guarantees your corners are perfect right angles. For larger projects, like commercial paver installations, consider using a laser level for pinpoint accuracy.
If your design includes curves or unique shapes, use a garden hose or flexible conduit to mark those boundaries clearly.
Essential Tools and Materials

To get started on your paver installation, you’ll need some must-have tools like a plate compactor, a level, and a rubber mallet.
Quality paver materials are equally important, so choose durable options that suit your design and climate.
With the right tools and materials, you’re ready to create a lasting and beautiful patio or walkway.
Must-Have Installation Tools
For a successful paver installation in Chandler, you’ll need a set of essential tools and materials to get the job done right. With the right equipment, you’ll achieve a flawless, professional finish that will stand the test of time.
Let’s dive into the must-have tools for your project:
- Plate Compactor: This is crucial for compacting the soil and ensuring a solid base for your pavers. A plate compactor delivers consistent pressure, eliminating air pockets and providing a stable foundation.
- Leveling Tools: A long spirit level or a laser level is indispensable. They help you achieve a perfectly even surface, ensuring your pavers are laid flat and true. Precision in leveling prevents future issues like uneven surfaces or water pooling.
- Paver Cutter: To fit pavers into tight spaces or around obstacles, you’ll need a reliable paver cutter. Whether you opt for a manual cutter or a power saw, this tool allows for precise cuts and a clean finish.
- Bedding Sand and Screed: To create a smooth, even layer for your pavers to rest on, you’ll use bedding sand and a screed board. This step is vital for proper paver alignment and long-term stability.
Equip yourself with these tools, and you’re set to craft a durable, attractive paver installation in Chandler.
Quality Paver Materials
Choosing high-quality paver materials is crucial for ensuring the longevity and aesthetic appeal of your installation in Chandler. You want pavers that can withstand the intense Arizona heat and occasional heavy rains without losing their charm. Opt for materials like concrete, natural stone, or brick. Concrete pavers offer versatility and strength, while natural stone pavers provide unmatched elegance and durability. Brick pavers add a timeless, classic look that never goes out of style.
Don’t forget about the base material. Crushed stone and sand are essential for creating a solid foundation, ensuring your pavers remain level and stable. Use polymeric sand to fill the joints between pavers; it hardens with moisture, preventing weed growth and providing additional stability.
Invest in high-grade edging materials to keep everything in place. Strong plastic or metal edging will maintain the shape and integrity of your paver layout. Additionally, consider a top-quality sealer to protect your pavers from stains, fading, and the harsh Chandler sun.
Proper Base Installation
Ensuring a stable and long-lasting paver installation starts with properly preparing the base. You can’t underestimate the power of a solid foundation. Here’s how you can achieve a robust base for your pavers:
- Excavate the Area: Start by digging out the area where you plan to install the pavers. Aim for a depth of at least 8-12 inches. This ensures you have sufficient room for the base layers, preventing future shifting or sinking.
- Install the Sub-base: Lay down a sub-base of crushed stone or gravel. Spread it evenly and compact it using a plate compactor. A well-packed sub-base is essential for load distribution and stability.
- Add Base Material: Spread a 4-6 inch layer of base material, like crushed stone or gravel. Compact it thoroughly. The key here is to achieve a smooth, level surface that can support the pavers and handle drainage efficiently.
- Level with Sand: Add a 1-inch layer of coarse sand over the compacted base. This final layer acts as a bed for the pavers, ensuring they sit evenly and securely. Use a screed to level the sand perfectly.
Laying Pavers Correctly
To lay pavers correctly, you need to start with proper base preparation to ensure stability.
Next, focus on placing the pavers accurately to maintain a uniform look.
Proper Base Preparation
For a long-lasting paver installation in Chandler, start with a solid base by excavating the area and removing any debris. This crucial first step ensures your pavers won’t shift or settle over time, giving you a durable and visually appealing surface.
Next, follow these steps to prepare the base properly:
- Excavate to the Correct Depth: Dig down to the appropriate depth, typically 6-8 inches for pedestrian areas, and up to 12 inches for driveways. This depth accounts for the gravel and sand layers you’ll need.
- Compact the Subgrade: Use a plate compactor to compact the soil beneath the excavation. A well-compacted subgrade prevents future soil movement and provides a stable foundation.
- Add a Gravel Base: Spread a layer of crushed stone or gravel, about 4-6 inches thick. Compact this layer thoroughly to create a solid, stable base that allows for proper drainage.
- Layer Sand on Top: Apply a 1-inch layer of coarse sand over the compacted gravel. Use a screed to level the sand, ensuring a smooth, even surface for laying the pavers.
Accurate Paver Placement
With the base prepared, you can now focus on laying the pavers accurately to achieve a professional and lasting finish. Start by setting a string line along the perimeter to guide your placement. This line ensures your pavers stay level and aligned.
As you lay each paver, place it firmly against its neighbor, maintaining consistent gaps for joint sand later. Use a rubber mallet to tap each paver into place. This ensures a snug fit without damaging the material. Check your work frequently with a level, adjusting as necessary to maintain a flat surface.
If you encounter an uneven paver, remove it, adjust the base, and reposition it. Work systematically, row by row. This methodical approach prevents mistakes and keeps the project organized. Don’t rush; precision is key.
Remember, the quality of your paver placement directly impacts the durability and appearance of your project. As you progress, periodically step back and inspect your work. A quick visual check can catch alignment issues early.
Mastering accurate paver placement requires patience and attention to detail, but the result is a robust, stunning outdoor space that stands the test of time.
Joint Sand Application
Begin the joint sand application by sweeping the sand into the gaps between the pavers. You’ll want to use a broom and ensure that the sand fills all the crevices. This step is crucial for maintaining the integrity and appearance of your paver installation.
Once you’ve swept the sand into the joints, it’s time to tamp down the pavers to allow the sand to settle.
Now, let’s go through the steps more precisely:
- Distribute the Sand Evenly: Pour the joint sand over the paver surface and use a broom to spread it evenly. Make sure every gap is filled to the top.
- Compact the Pavers: Use a plate compactor to vibrate the pavers. This helps the sand settle deeply into the joints, providing a solid foundation.
- Refill the Joints: After compacting, you’ll notice some joints may need more sand. Repeat the sweeping process to ensure all gaps are fully filled.
- Final Sweep and Watering: Once the joints are filled, sweep off any excess sand. Lightly water the surface to help the sand settle and harden.
Joint Sand Application

When applying joint sand, you’ll want to ensure proper sand compaction to maintain stability.
Use a plate compactor to settle the sand into the joints thoroughly.
This step prevents shifting and helps the pavers stay in place over time.
Proper Sand Compaction
Ensure the joint sand is thoroughly swept into the gaps between the pavers to stabilize the surface. Without proper sand compaction, your paver installation won’t last. You need to make sure every joint is filled and compacted correctly to prevent shifting and settling.
Here’s how you can dominate this critical step:
- Use Polymeric Sand: Opt for polymeric sand instead of regular sand. It contains additives that bind the particles together, creating a stronger, more durable joint.
- Vibrate the Pavers: After sweeping the sand into the joints, use a plate compactor to vibrate the pavers. This action forces the sand down into the gaps, ensuring maximum compaction.
- Resweep and Compact Again: Repeat the process of adding sand and compacting. This double-action ensures that any initial settling is addressed, and all gaps are completely filled.
- Water the Surface: Lightly water the surface to activate the polymeric sand. This step locks the sand in place, making the joints even more resilient against erosion and weed growth.
Follow these steps, and you’ll have a paver installation that not only looks impeccable but also stands the test of time, showing everyone you mean business.
Sealing and Maintenance
Properly sealing and maintaining your pavers ensures they remain durable and visually appealing for years. Sealing your pavers forms a protective barrier against the harsh Arizona sun, stains, and weather damage. Begin by thoroughly cleaning your pavers to remove any dirt or debris. Use a high-quality sealer designed for pavers, and apply it evenly using a roller or sprayer.
| Step | Action | Frequency |
|---|---|---|
| Cleaning | Power wash or sweep | Every 3-6 months |
| Sealing | Apply paver sealer | Every 2-3 years |
| Inspection | Check for damage | Annually |
Don’t skip regular maintenance if you want your investment to last. Inspect your pavers annually for any signs of wear or damage. Addressing small issues like loose or cracked pavers early can prevent costly repairs down the line. Additionally, resealing your pavers every two to three years maintains their protective layer and enhances their color and vibrancy.
Conclusion
Think of your paver installation in Chandler as building the foundation of a fortress in the desert with Paradise Hardscapes – Pavers & Turf – Chandler! By choosing durable materials, preparing your site meticulously, and using the right tools from Paradise Hardscapes, you’re ensuring your creation withstands the test of time.
Just like a well-maintained castle, regular cleaning, sealing, and inspections from Paradise Hardscapes will keep your paved surface looking majestic and enduring. Follow these best practices, and your outdoor space will be both functional and beautiful, standing strong against the elements with the help of Paradise Hardscapes.
For top-quality paver installation services in Chandler, contact Paradise Hardscapes at (480) 750-4345. Located at 3950 W Chandler Blvd, Chandler, AZ 85226, Paradise Hardscapes has over 8 years of experience in hardscaping services such as paver installation, turf installation, masonry, concrete, pool decks, and outdoor kitchens.
With +50 5-star Google reviews, Paradise Hardscapes is licensed, bonded, insured, and offers free estimates for your hardscaping needs.
